Improving a shelf


MY GOAL: Darken and deepen the tone of the wood. Make it appear more aged.
TWO INGREDIENTS: India Ink and Old English Dark Wood Scratch Cover
Using a paint brush I applied the India Ink, wiped it off, and then applied the Old English. Then I wiped that off. It was done in small sections and took a couple of hours. (Please only do this in small sections as time will increase the depth to which the ink penetrates.)
I started by testing the ink on the shelf underside bottom. It is important to test on a surface which has the same finish as the facing side. This shelf did not have any stain applied to the reverse (backside) edge of the boards.
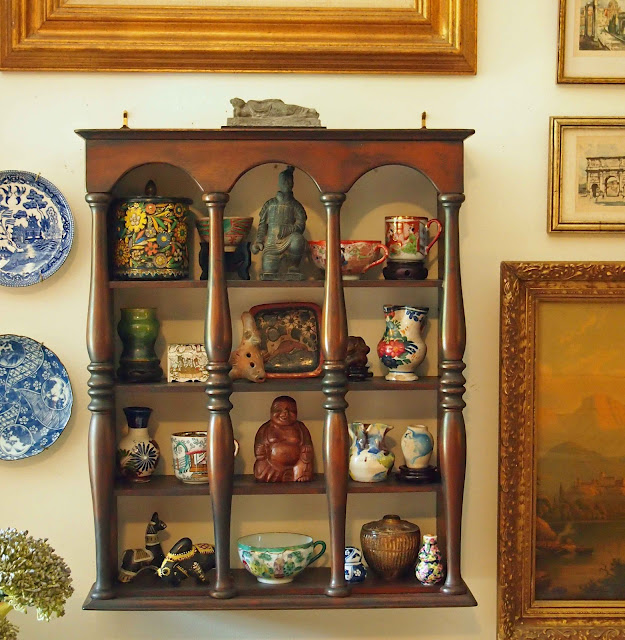
I used a round, loose, fat brush with a 3/4 inch clump of bristle from my arts and crafts supply. The shelf had some finish remaining so I used the ink undiluted. I used several old, torn rags ready for the bin to wipe away the ink after a few seconds. Then I continued on the bottom section repeating the process. Then I applied several dribbles of the Old English across the section and spread it out with the ink brush. Then I wiped it away. Before I moved on to the next section, I turned the shelf so I could see all the edges nearby and wiped off anything that dripped. Check the edges. Seen here is spill-over. I wiped it away and later evened out the look by avoiding the spots already darkened by brushing the ink around them. The top shelf shows the original color. The second shelf shows the beginnings of the color I am hoping for.
 |

Anything with a finish develops small lines called craquelure which appear over time. The ink gathers in these small spaces because the finish has broken. In addition, corners, edges, bumps and abrasions also absorb more of the ink. This does not distract from the wood, rather it serves to enhance its appearance of aging.
As wood is used and exposed, in particular when it sits in a room where it is exposed to daylight as the sun shifts, the wood will change with age. Some areas will lighten and some may remain relatively unaffected by the light if they fall in shadow. In addition, as wood is touched and handled, it will absorb the oils from hands or particulates in the air which settle on the wood. The finish can protect from these things but over time these oils build up and the finish has miniscule lines develop as the wood dries or dampens in relation to environmental conditions. Polishing and waxing woods delays the damage.
Another thing that occurs is that the polish will gather in spots and be unevenly applied in non-flat areas. The oil and grime will then be moved and deposited into corners and edges making the wood appear darker. Using the India Ink replicates these effects of aging.
This aging process I created can be a bit daunting at times. Here is what it looks like when the ink goes on:

 |
| Dribble the Old English on generously. |
 |
| Stage One is complete. The first layer of ink and Old English. |
 |
| After a light pass of the brush into the corners. |
 |
| Still work to be done |